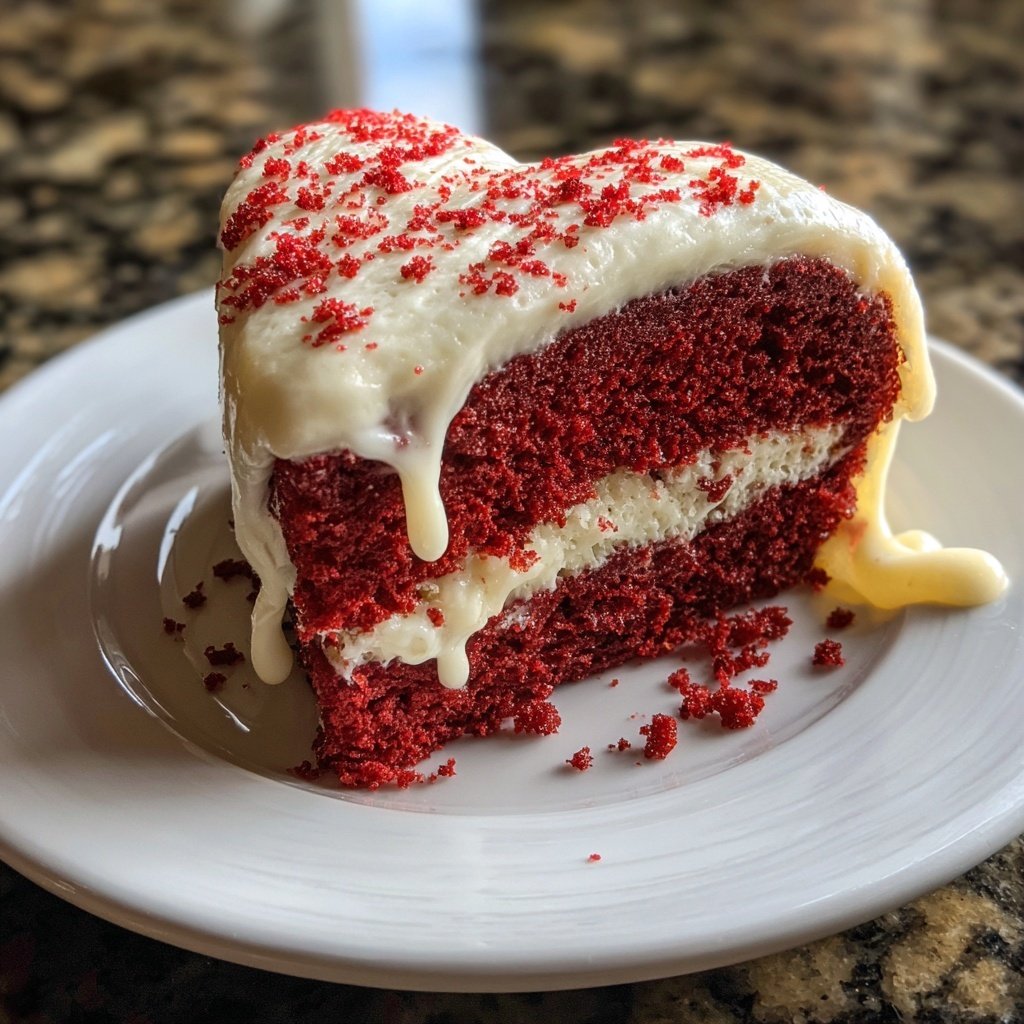
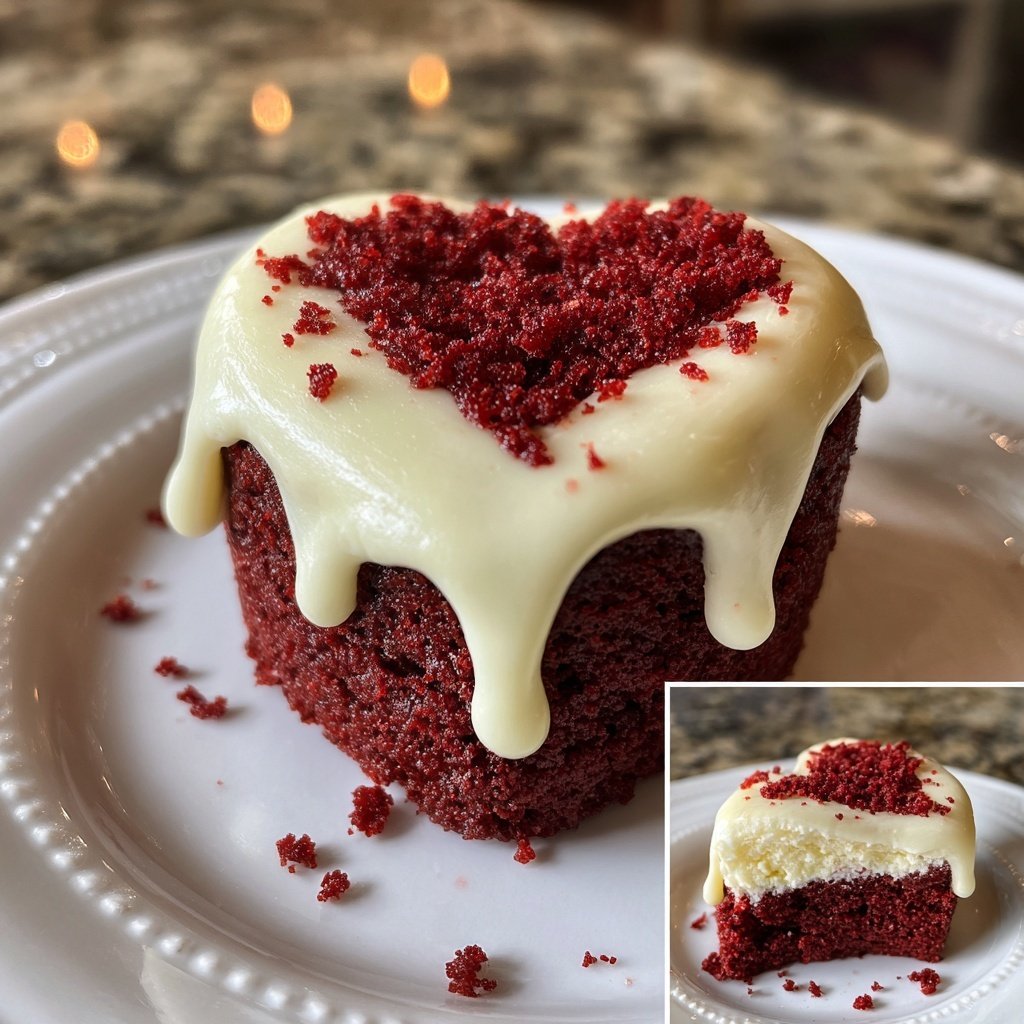
Mini Heart Cake with Red Velvet
Highlighted under: Classic Kitchen
I absolutely adore making these mini heart cakes with red velvet. They have become my go-to dessert for any celebration, and their charming appearance never fails to impress. I love the gentle hints of cocoa paired with the slight tang from the cream cheese frosting. Each bite is velvet smooth, and decorating them with sprinkles and fresh berries makes them even more special. Trust me, once you try making these yourself, you’ll understand why they have a special place in my heart and on my dessert table!
When I first decided to bake mini heart cakes, I envisioned a dessert that would be both adorable and delicious. After experimenting with different batter recipes, I discovered that a combination of cocoa powder and buttermilk yielded the perfect texture and flavor for red velvet cakes. They turned out to be moist and rich, just the way I had hoped.
To elevate these cakes, I topped them with a luscious cream cheese frosting that balances the sweetness beautifully. I learned that refrigerating the cakes for a bit before serving allows the flavors to meld perfectly, making every bite a delightful experience!
Why You'll Love This Recipe
- Decadently rich flavor with a touch of sweetness
- Charming presentation that's perfect for sharing
- Easy to customize with your favorite toppings
Choosing the Right Ingredients
When it comes to red velvet cake, the quality of your ingredients can make a significant difference in the final product. For the buttermilk, you can use store-bought or make your own by mixing one cup of milk with one tablespoon of vinegar or lemon juice. This simple substitution will provide the necessary acidity to react with the baking soda and create a tender cake. Additionally, using fresh cocoa powder ensures a richer chocolate flavor, enhancing the overall taste of your mini heart cakes.
The choice of food coloring is also crucial. I recommend using gel food coloring instead of liquid, as it provides a more vibrant hue without altering the cake's consistency. This little tip will help you achieve that classic deep red color while maintaining a light and fluffy texture. Remember, a little goes a long way - start with two tablespoons and adjust if you desire a more intense shade.
Frosting Fundamentals
Crafting the perfect cream cheese frosting is essential for complementing the rich flavors of the red velvet cake. Make sure your cream cheese and butter are at room temperature; this will allow them to blend seamlessly without lumps. Start beating the butter and cream cheese together until the mixture is completely smooth and creamy before gradually incorporating the powdered sugar. This method prevents a gritty texture in your frosting and results in a velvety finish that tastes delightful.
If your frosting is too thick for piping, don’t hesitate to add additional milk, one tablespoon at a time, until it reaches the desired consistency. Conversely, if your frosting becomes too runny, simply add a little more powdered sugar to thicken it up. These adjustments can help you achieve that perfect spreadable texture ideal for frosting your mini cakes.
Serving and Storage Tips
To really let the flavors shine, serve these mini heart cakes at room temperature. If you’ve made them ahead of time, it's best to store them in an airtight container in the fridge, where they can last up to a week. Just remember to take them out about 30 minutes before serving for optimum taste and texture. A light dusting of powdered sugar right before serving can also elevate their appearance subtly.
If you’re planning to freeze these cakes, make sure they’re completely cooled and wrapped well to prevent freezer burn. They can be frozen for up to three months. To defrost, simply move them to the refrigerator overnight before frosting and serving. This is a great way to prep for events or gatherings, ensuring that your dessert table has something special ready to impress your guests.
Ingredients
For the Mini Heart Cakes
- 1 1/2 cups all-purpose flour
- 1 tsp baking powder
- 1/2 tsp baking soda
- 1/4 tsp salt
- 1 cup granulated sugar
- 1/2 cup vegetable oil
- 1 large egg
- 1 cup buttermilk
- 2 tbsp red food coloring
- 1 tsp vanilla extract
- 1 tbsp cocoa powder
For the Cream Cheese Frosting
- 8 oz cream cheese, softened
- 1/4 cup unsalted butter, softened
- 2 cups powdered sugar
- 1 tsp vanilla extract
- 1-2 tbsp milk (if needed)
Instructions
Preheat the Oven
Preheat your oven to 350°F (175°C). Grease and flour mini heart-shaped baking pans.
Mix Dry Ingredients
In a bowl, whisk together the flour, baking powder, baking soda, salt, and cocoa powder.
Combine Wet Ingredients
In another bowl, mix the sugar, oil, and egg until combined. Then add buttermilk, food coloring, and vanilla extract.
Combine Mixtures
Gradually add the dry ingredients to the wet mixture, mixing until just combined.
Bake the Cakes
Pour the batter into the prepared pans and bake for 20-25 minutes or until a toothpick inserted comes out clean.
Cool the Cakes
Allow the cakes to cool in the pan for 10 minutes before transferring them to a wire rack to cool completely.
Prepare the Frosting
In a bowl, beat the cream cheese and butter until smooth. Gradually add powdered sugar and vanilla, mixing until fluffy. Add milk if needed for a smoother consistency.
Frost the Cakes
Once the cakes are fully cooled, frost them with the cream cheese frosting using a spatula or piping bag.
Serve
Decorate with sprinkles or fresh berries if desired, and serve immediately.
Pro Tips
- Let the cakes cool completely before frosting to prevent the frosting from melting. You can also experiment with different food colorings for a unique look!
Troubleshooting Common Issues
One common issue you may encounter is the cakes rising unevenly or doming. To prevent this, ensure your oven is properly calibrated; an oven thermometer can help with this. Also, do not over-mix the batter after combining wet and dry ingredients, as this can lead to a tough cake. Aim for just combined, which will keep the crumb light and airy.
If your cakes stick to the pan, double-check that you greased and floured them adequately. Alternatively, you can use parchment paper in the bottom of each pan for easier removal. In case this happens despite your best efforts, a thin knife can carefully help release stubborn edges without damaging the cake.
Creative Variations
While the classic red velvet flavor is always a hit, you can easily customize these mini heart cakes. Try adding chocolate chips to the batter for extra indulgence, or swap out the cream cheese frosting for a vanilla or chocolate ganache for a different twist. Additionally, consider infusing the batter with orange or almond extract for a surprise flavor that complements the chocolate notes beautifully.
For an added layer of excitement, you could create a layered cake by cutting the mini cakes in half and adding frosting between the layers. This makes each bite even more decadent and visually appealing, perfect for special occasions.
Questions About Recipes
→ Can I use a different size cake pan?
Absolutely! Just adjust the baking time as larger pans will take longer to bake.
→ What if I don’t have buttermilk?
You can make a simple substitute by mixing 1 cup of milk with 1 tablespoon of vinegar or lemon juice and letting it sit for 5 minutes.
→ How can I store leftovers?
Store any leftover cakes in an airtight container in the refrigerator for up to 3 days.
→ Can I freeze these cakes?
Yes, you can freeze unfrosted mini cakes for up to a month. Just wrap them tightly before freezing.
Mini Heart Cake with Red Velvet
Created by: Vanessa Whitlock
Recipe Type: Classic Kitchen
Skill Level: Intermediate
Final Quantity: 4 mini cakes
What You'll Need
For the Mini Heart Cakes
- 1 1/2 cups all-purpose flour
- 1 tsp baking powder
- 1/2 tsp baking soda
- 1/4 tsp salt
- 1 cup granulated sugar
- 1/2 cup vegetable oil
- 1 large egg
- 1 cup buttermilk
- 2 tbsp red food coloring
- 1 tsp vanilla extract
- 1 tbsp cocoa powder
For the Cream Cheese Frosting
- 8 oz cream cheese, softened
- 1/4 cup unsalted butter, softened
- 2 cups powdered sugar
- 1 tsp vanilla extract
- 1-2 tbsp milk (if needed)
How-To Steps
Preheat your oven to 350°F (175°C). Grease and flour mini heart-shaped baking pans.
In a bowl, whisk together the flour, baking powder, baking soda, salt, and cocoa powder.
In another bowl, mix the sugar, oil, and egg until combined. Then add buttermilk, food coloring, and vanilla extract.
Gradually add the dry ingredients to the wet mixture, mixing until just combined.
Pour the batter into the prepared pans and bake for 20-25 minutes or until a toothpick inserted comes out clean.
Allow the cakes to cool in the pan for 10 minutes before transferring them to a wire rack to cool completely.
In a bowl, beat the cream cheese and butter until smooth. Gradually add powdered sugar and vanilla, mixing until fluffy. Add milk if needed for a smoother consistency.
Once the cakes are fully cooled, frost them with the cream cheese frosting using a spatula or piping bag.
Decorate with sprinkles or fresh berries if desired, and serve immediately.
Extra Tips
- Let the cakes cool completely before frosting to prevent the frosting from melting. You can also experiment with different food colorings for a unique look!
Nutritional Breakdown (Per Serving)
- Calories: 380 kcal
- Total Fat: 26g
- Saturated Fat: 15g
- Cholesterol: 195mg
- Sodium: 85mg
- Total Carbohydrates: 32g
- Dietary Fiber: 3g
- Sugars: 24g
- Protein: 6g